Mover.io is an intermediary tool you may use to transfer files from Google Drive to OneDrive via Web browsers without downloading or installing any additional application/ programs. Transfer time/duration required depends on the size of your files and speed of the web-hosted application. Once the files are transferred successfully to OneDrive, you should delete the transferred files from Google Drive in order to not exceed the allocated storage space.
How to Connect Mover.io to Google Drive: Step 1: Select Google Drive
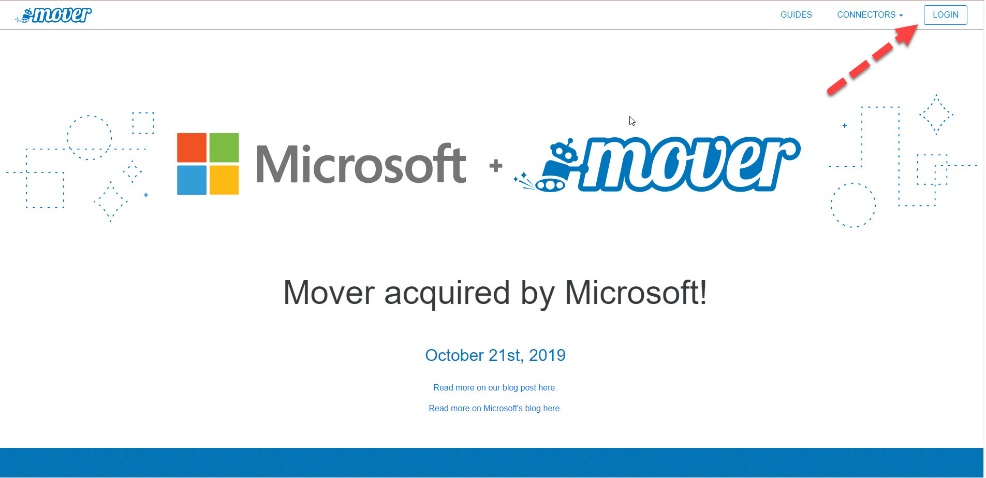
- Go to https://mover.io and select Login.
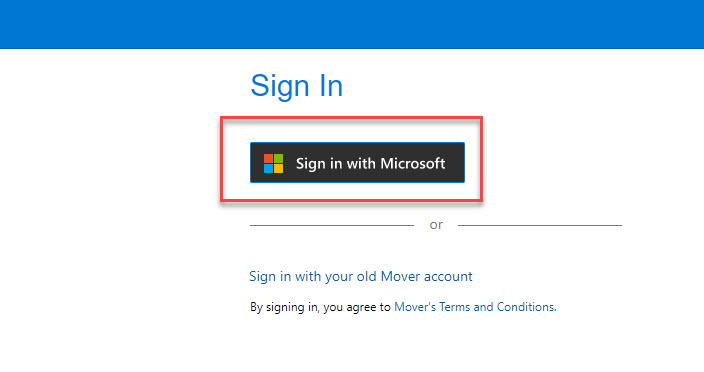
- Select Sign in with Microsoft.
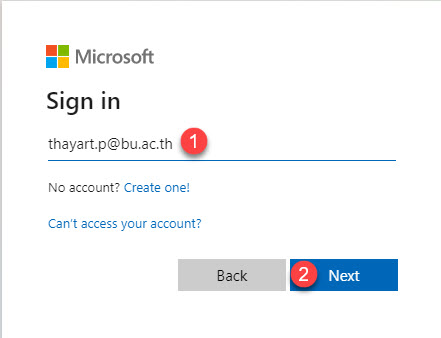
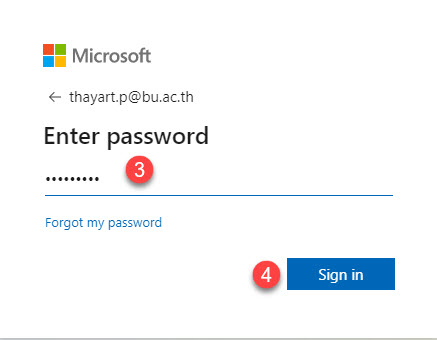
- Sign in with your BU Email (@bu.ac.th).

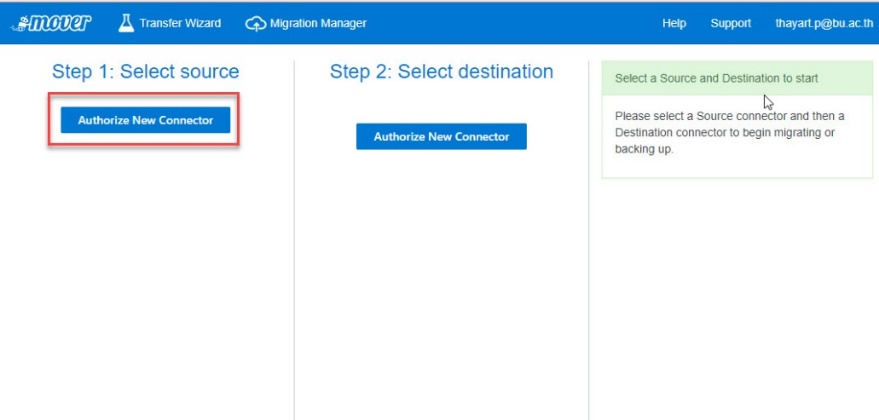
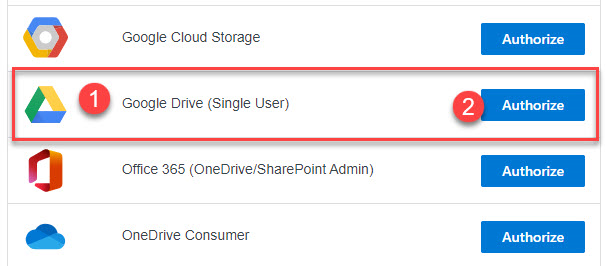
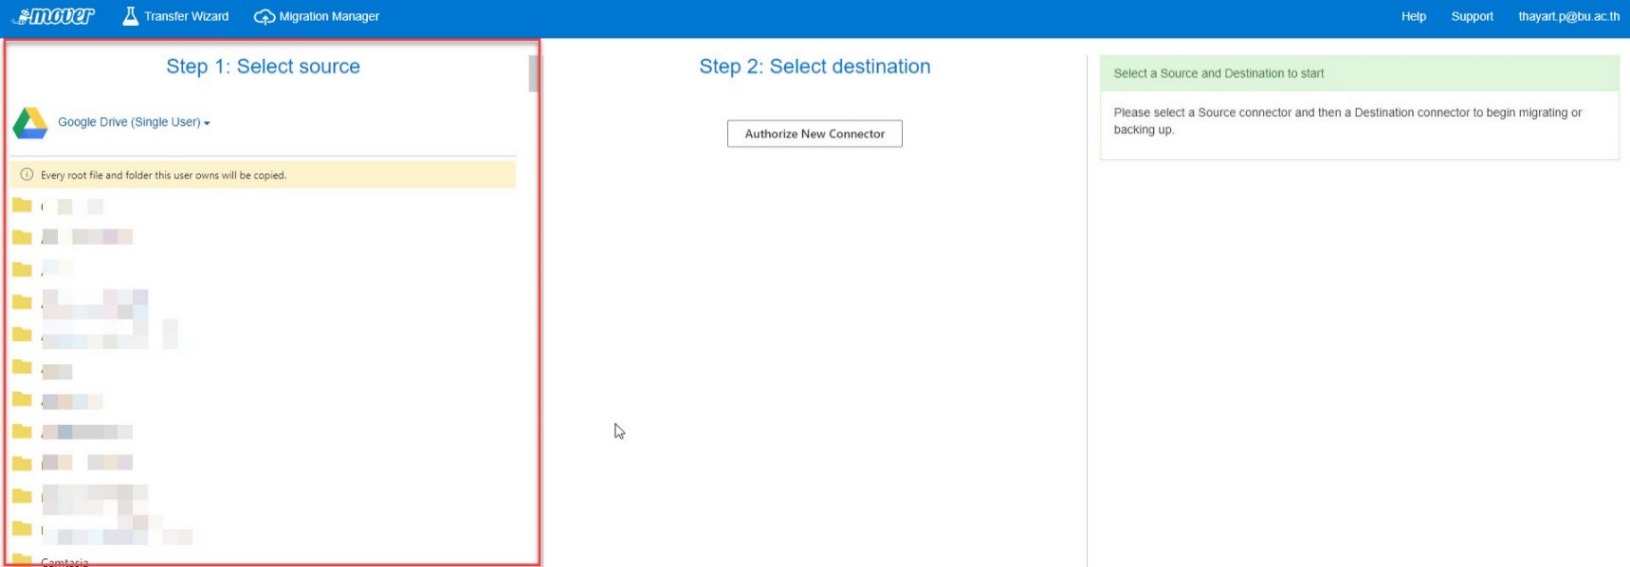
- After logging in, you will see a screen as displayed below. Step 1: Select
 to connect to Google Drive.
- Select Google Drive (Single User), then click Authorize
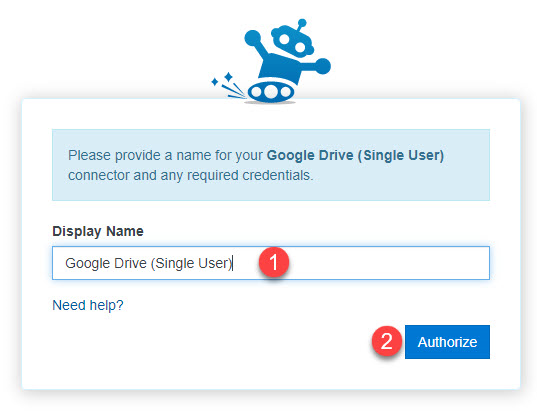
- As displayed below, you may (1) set Display Name as preferred or use the one assigned by Google Drive, then (2) click Authorize.
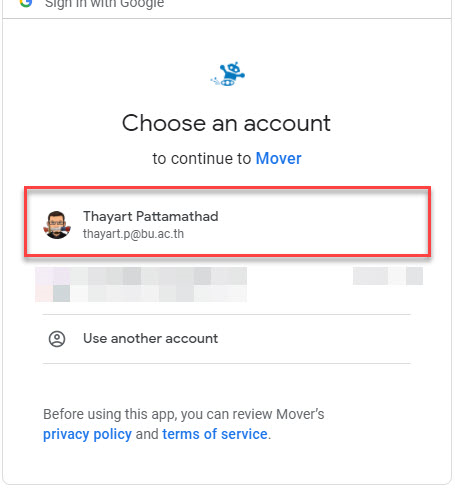
- If you have already used your BU Email Account in Google Chrome, your BU Email address should display on the screen. If not, select another account linked to your Google Drive.
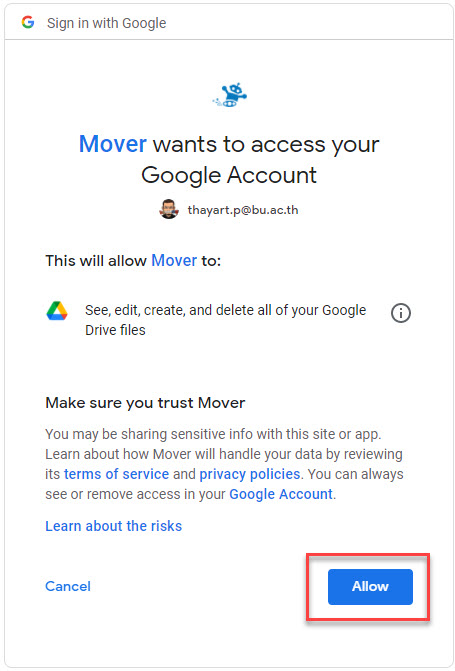
- Select Allow to allow access to your account on Google Drive.
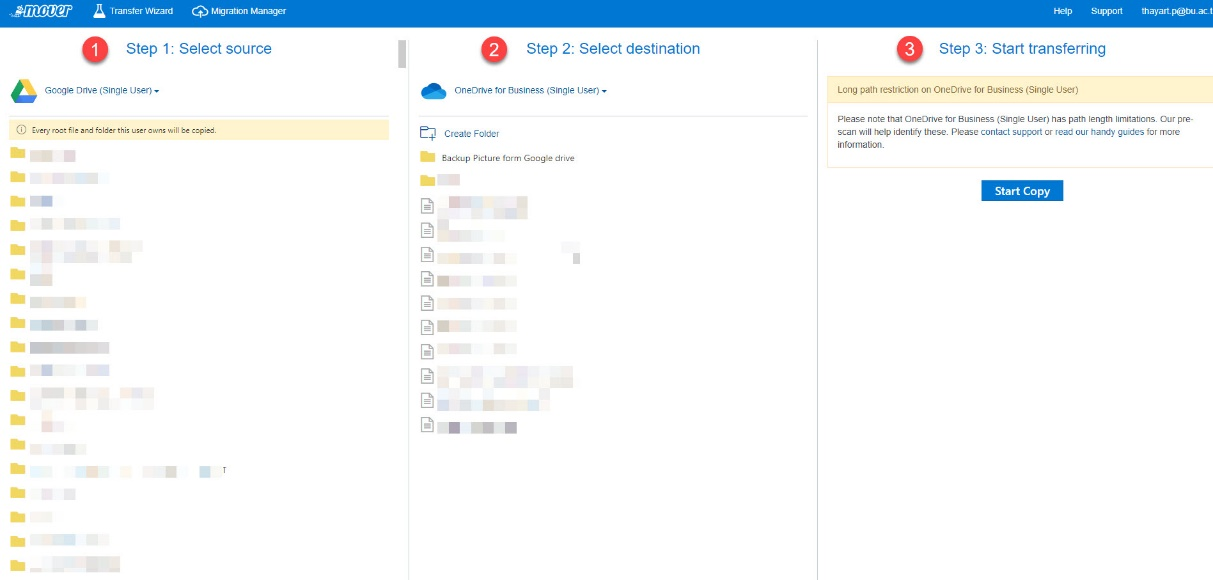
- Information on Google Drive will show as displayed below in Step 1: Select source:
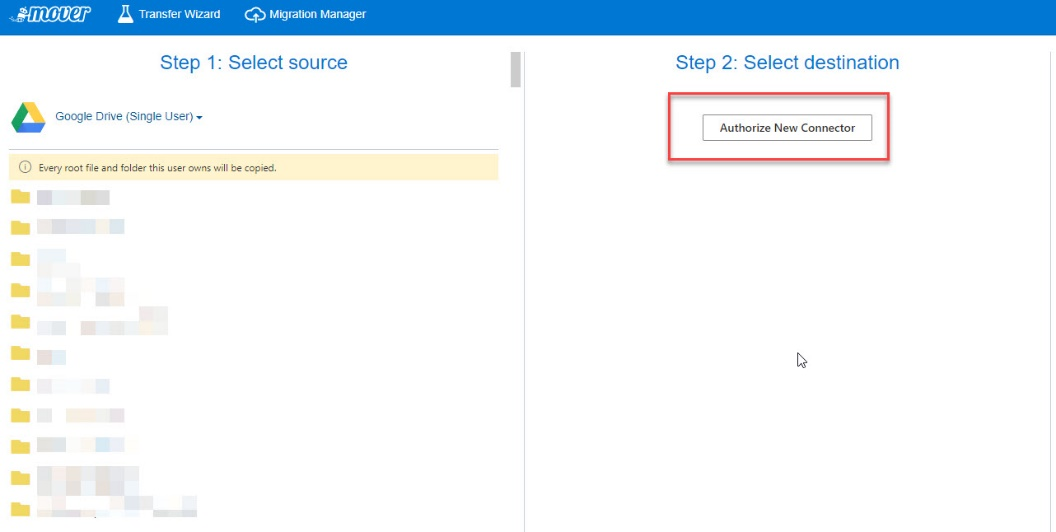
How to select destination: Step 2: Select destination OneDrive
- Select Authorize New Connector at Step 2: Select destination.
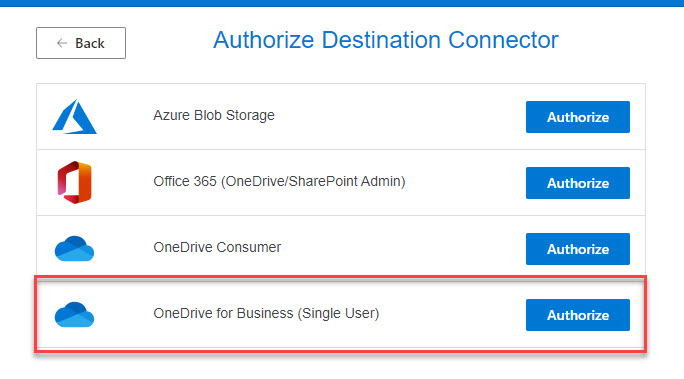
- Select OneDrive for Business (Single User), then click Authorize
- As displayed below, you may (1) set a Display Name as preferred or use the name assigned by Google Drive, then (2) click Authorize.
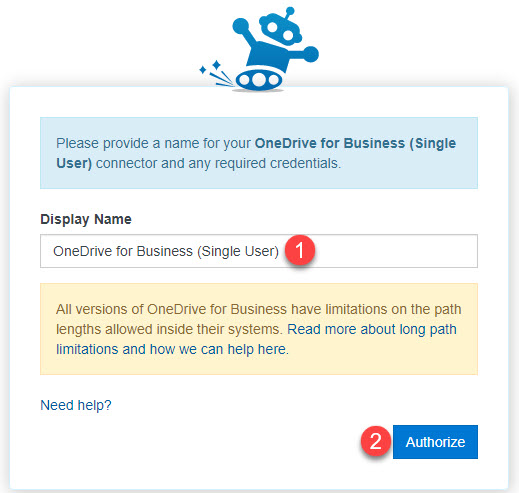
- Sign in with BU Email account (@bu.ac.th) .


- After signing in, information in Step 2 : Select destination will display in OneDrive
– Step 1 : Select source : Information on Google Drive
– Step 2 : Select destination : Information on OneDrive
– Step 3 : Start Transferring : Start coping files/transferring files (Start Copy)
How to transfer files from Google Drive to One Drive : Step 3 : Start transferring
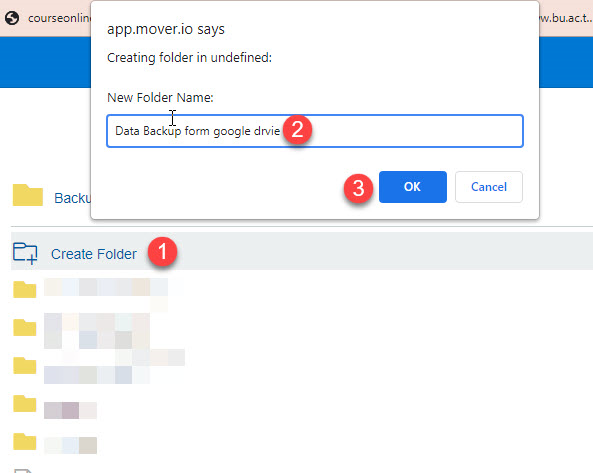
- Create a Folder to store your files on One Drive, by clicking on Create Folder, set a display name of the new folder as preferred, then click OK.
- A new Folder is created as displayed below. You may click on the new folder.

- Select Folder of Google Drive on the left of the screen at (1) Step 1: Select source, then (2) click Start Copy at Step 3: Start transferring.

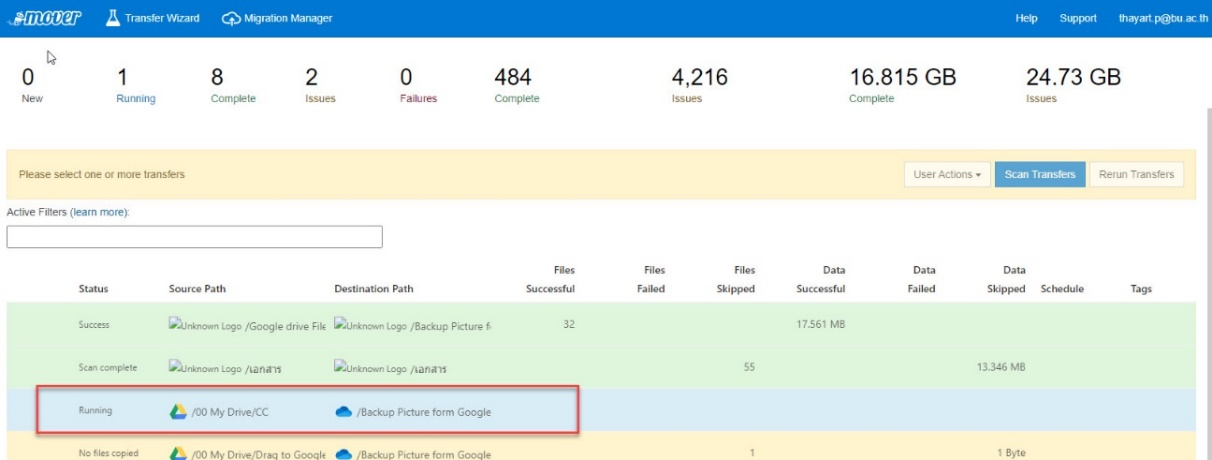
- When clicking on Start copy, a screen is as displayed below and you will see Copy status.
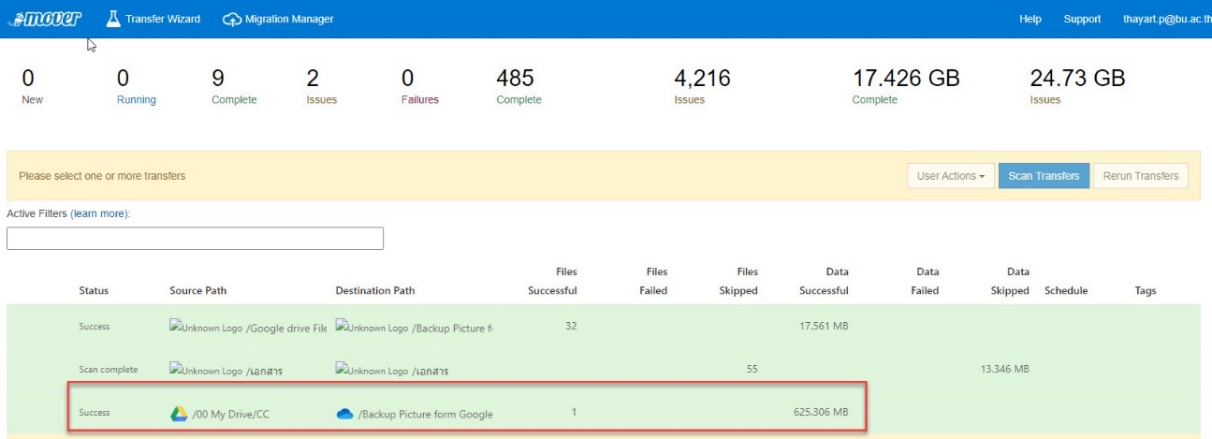
- When a transfer is completed, you will see Success status on display.
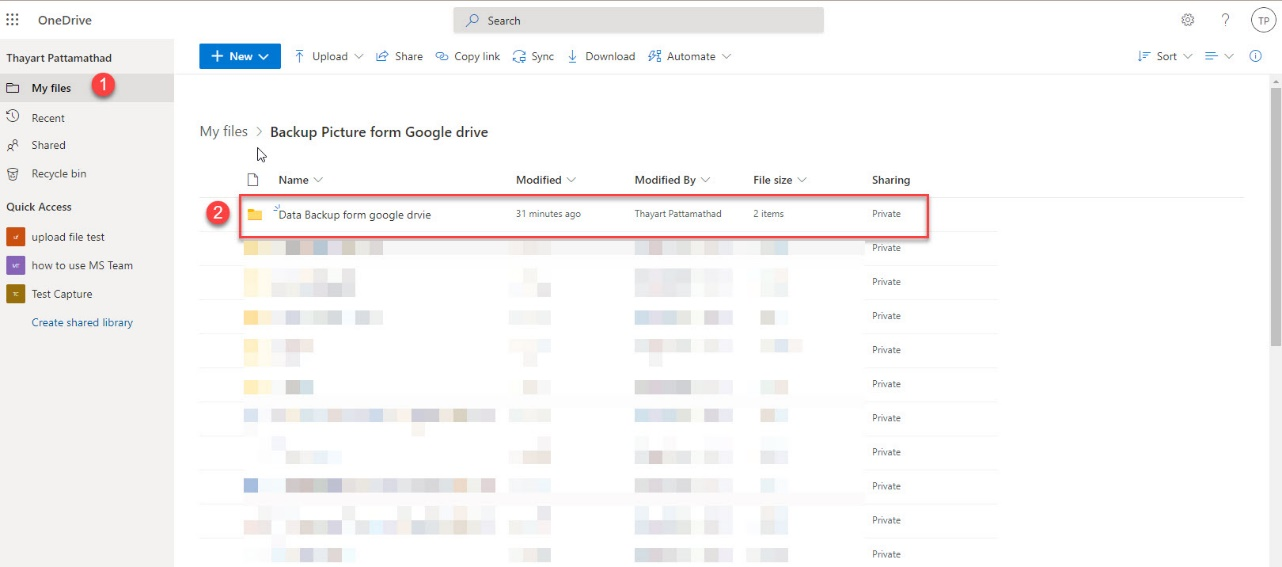
- You may check the transferred files at Backup on OneDrive using your BU Email at https://onedrive.live.com/about/en-us/signin/

- Select My File for the folder you created with mover.io. You then can check your files in the folder.
How to delete files in Google Drive
Once the files are transferred successfully to OneDrive, you should delete the transferred files from Google Drive in order to not exceed the allocated storage space.